tMDMTriggerInput
Reads the XML message (Document type) sent by MDM and passes
the information to the component that follows.
Every time when you save a change in your MDM, the corresponding record is
generated in XML format. At runtime, this component reads this record and sends the relative
information to the following component. With tMDMTriggerInput, you do not
need to configure your Job any more in order to communicate the data changes from MDM to your
Job.
This component works alongside the new trigger service and
process plug-in in MDM version 5.0 and higher. The MDM Jobs,
triggers and processes developed in previous MDM versions remain
supported. However, we recommend using this component when
designing new MDM Jobs.
tMDMTriggerInput Standard properties
These properties are used to configure tMDMTriggerInput running in the Standard Job framework.
The Standard
tMDMTriggerInput component belongs to the Talend MDM family.
The component in this framework is generally available.
Basic settings
|
Property Type |
Either Built-in or Repository. |
|
|
Built-in: No property data stored
tMDMTriggerInput is expected to |
|
|
Repository: Select the repository As tMDMTriggerInput provides a |
|
Schema and Edit |
A schema is a row description, it defines the number of fields Click Edit schema to make changes to the schema.
|
|
|
Built-in: The schema will be This is the default option for tMDMTriggerInput. With this option, the read-only |
|
|
Repository: The schema already As tMDMTriggerInput provides a |
Advanced settings
|
tStatCatcher Statistics |
Select this check box to gather the processing metadata at the Job |
Global Variables
|
Global Variables |
ERROR_MESSAGE: the error message generated by the A Flow variable functions during the execution of a component while an After variable To fill up a field or expression with a variable, press Ctrl + For further information about variables, see |
Usage
|
Usage rule |
Use this component as a start component. It needs an output To receive the message from MDM, you need to deploy the Job using For further information about how to deploy a Job onto MDM server For further information about how to change a record in MDM, see |
Scenario: Exchanging the event information about an MDM record
This scenario applies only to a Talend solution with MDM.
In this scenario, a four-component Job is used to exchange the event
information about a product record. Using an MDM connection established from the
Repository, this Job is called by an
eligible trigger once you update an existing product record.
To replicate this scenario, accomplish the following tasks
sequentially:
-
Create an MDM connection of the Receive type in the Repository of the Studio. This connection is to the
MDM hub holding the record you want to update. -
Create the Job to receive and send the MDM update
message. -
Generate the trigger to invoke this Job created.
-
Update a product record.
To create the MDM records, data model and data container used in this
scenario, you can execute the Jobs in the MDM demo project in Talend Studio and then update the MDM server to deploy the objects thus
created for them to be taken into account at runtime. You will use this server
throughout this scenario.
You can search for further information about MDM event
management, how to import a demo project and how to deploy objects to the MDM
server on Talend Help Center (https://help.talend.com).
Creating an MDM connection to retrieve entities
Establishing the connection
Make sure the MDM server with which you need to communicate the update message is
up and running.
- In the Integration perspective of Talend Studio , expand the Metadata node in the Repository.
-
Right-click the Talend
MDM item and select Create MDM
connection.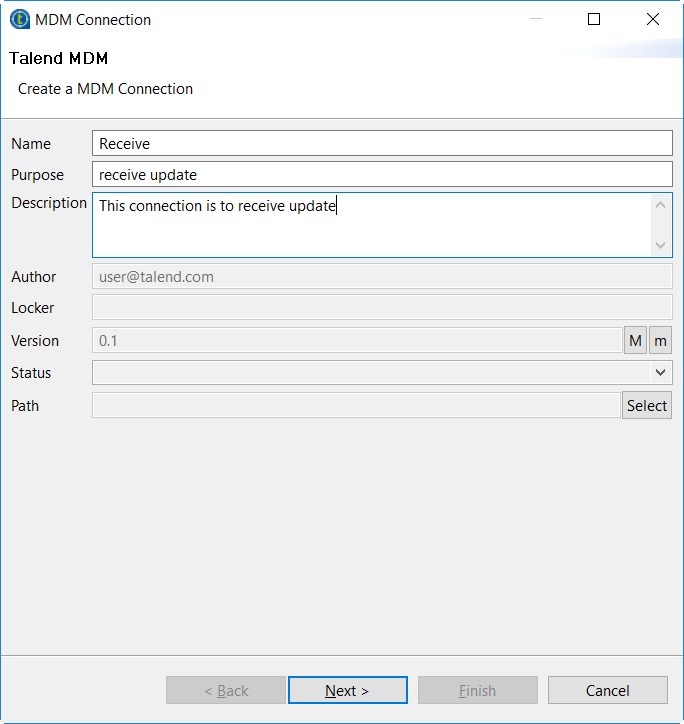
-
Enter the Name you
want to use for this connection and if required, added the Purpose and the Description in the corresponding fields.For example, name this connection
Receive. -
In the Next step,
enter the credentials for connecting to the MDM server which holds the
record to be updated.Once you click the Check button
and the connection is shown successful, the Next button becomes clickable.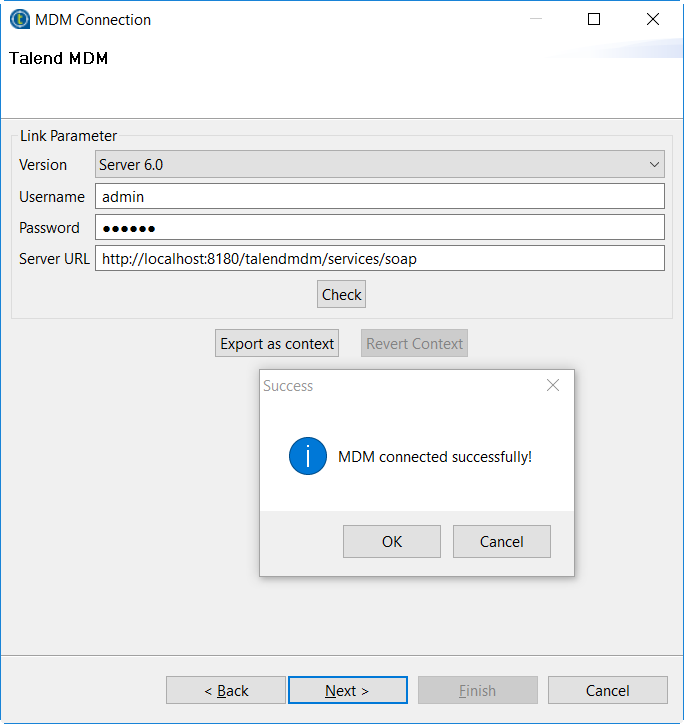
-
In the Next step,
select the Data model and the
Data Container used by the record
to be updated.In this scenario, the model and the container are both
Product. -
Click Finish to
validate the creation.The connection created is displayed under the Metadata node in the Repository.
Retrieving entities
-
Right-click the connection created and from the contextual
menu, select Retrieve Entity. -
Select Receive MDM
in the dialog box and click Next to
continue.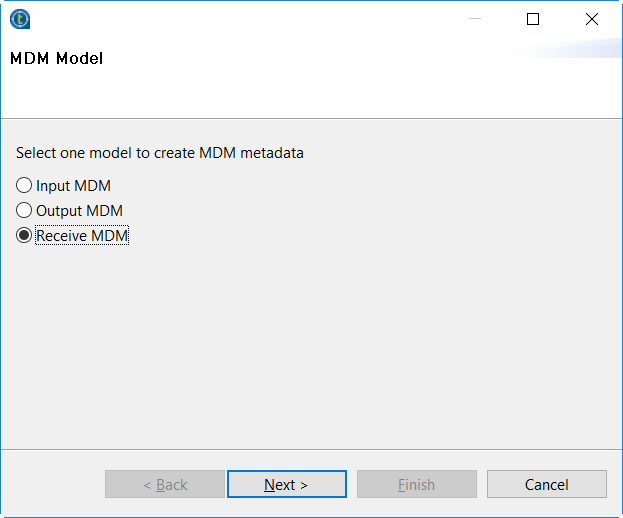
-
Select the entity to be retrieved, and click
Next.In this scenario, select Product, and the
Name field is populated automatically.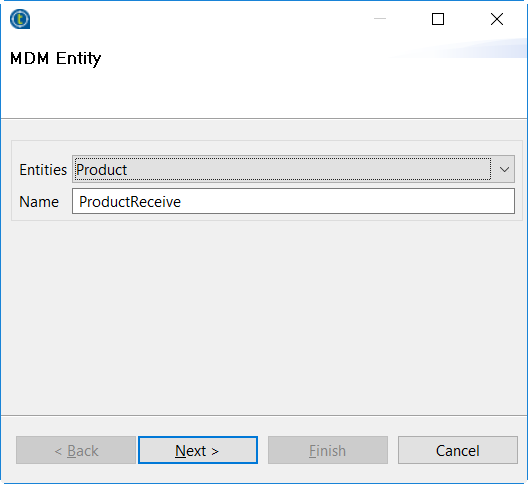
-
Drop the elements you need to retrieve from the Source Schema area to the Target Schema area.
In this scenario, the Features element is the
field to be looped and the Id,
Name and Description
elements are the fields to be extracted.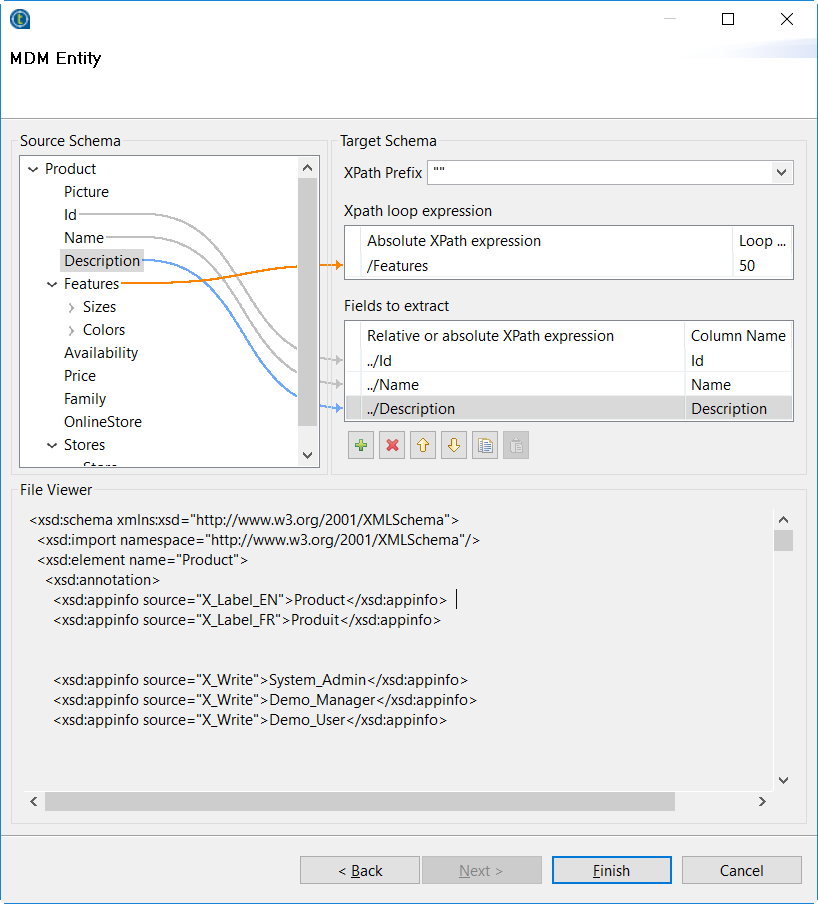
-
Keep the default schema description and click Finish to finalize retrieving the schema of
the Product entity.You can see more information about the data
container and the data model used by Talend MDM on Talend Help Center (https://help.talend.com).
Creating the Job communicating the MDM message
Linking the components
- Create a Job named update_product.
-
Drop tMDMTriggerInput,
tXMLMap, tMDMTriggerOutput
and tLogRow from Palette onto
the workspace. -
Right-click tMDMTriggerInput and from the contextual
menu, select the Row > Main link to connect it to tXMLMap. -
Do the same to connect tXMLMap to
tMDMTriggerOutput, and name the connection
output. -
Double-click tMDMTriggerOutput to open its
Component view. -
Click the […] button next to Edit
schema to open the editor. -
Select the single pre-defined column of
tMDMTriggerOutput, and then click to
to
reproduce this column on the input side (left). -
Connect tMDMTriggerOutput to
tLogRow using the Row > Main connection.
Configuring the transformation of the MDM message
-
Double-click tXMLMap
to open its editor. -
In the table representing the input flow (upper left of the
editor), right-click the column name MDM_Message on the top of the XML tree and select
Import From Repository.The Metadata wizard is displayed. -
Select the entity schema
ProductReceive retrieved earlier using the
Receive MDM model, then click
OK. -
Click OK in the
dialog box that prompts you to add the schema of the Update Report to the
input XML tree.This builds a complete input document for an MDM event. In the input
XML tree, the Features element is set as the loop
element automatically.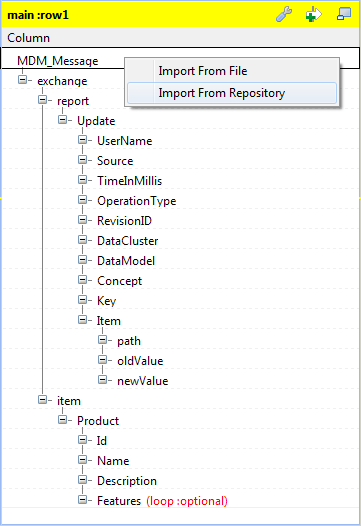
-
In the table representing the output flow (upper right of
the editor), develop the output XML tree as presented in the figure below.This tree is constructed depending on the required static model of the
MDM output report.The XML construct required to return the validation-success message is
<report><message, and the
type="info">message</message></report>
XML construct required to return the validation-failure message is
<report><message.
type="error">message</message></report>
-
Map the OperationType element on the input side to
the message element on the output side.This will output the information about the type of the event occurring
on the MDM record. -
In the Expression
column, enter"info"in the row
corresponding to @type. -
Click the pincer icon to display the output settings panel,
and then set the All in one option to
true. -
Click OK to close
the editor and validate these changes. -
Double click tLogRow
to open its Component view, then,
click Sync columns.
Generating the trigger to invoke the Job created
Deploying the Job to be deployed onto the MDM server
-
Switch to the MDM
perspective, and expand the Job Designs
node in the MDM Repository tree view. -
Right-click the Job update_product
created previously in this scenario, and select Deploy To… from the contextual menu.The deployment wizard is displayed. -
From the server list, select the MDM server you are using,
and then click OK. -
In the Deploy to Talend
MDM window that pops up, keep the default settings:
Export type is Hosted (zip) and Context scripts is Default.You can see more information about these
settings on Talend Help Center (https://help.talend.com). -
Click Finish to
validate these settings and start the deployment.When the deployment is done, a message box pops up to indicate that the
deployment is successful. -
Click OK to close
this message box.A window pops up to indicate that the Job
update_product is deployed
successfully. -
Click OK to finalize
the deployment.
Generating the trigger used to call the Job
-
Right-click the Job update_product
and select Generate Talend Job Caller
Trigger from the contextual menu. -
In the pop-up window, keep the default settings for this
scenario: Integrated and Embedded.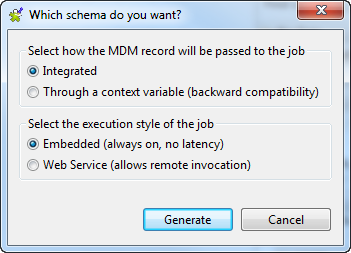
-
Click Generate to
start the generation.Once done, a trigger named
CallJob_update_product is displayed under the
Trigger node in MDM
Repository. -
Right-click this trigger, and then select Deploy To… from the contextual menu to
deploy it onto the MDM server. -
In the pop-up wizard, select the server you are using, and
click OK. -
Click OK to finalize
the deployment.
Updating a product record
- Log in to the web user interface.
-
In the Actions panel on the
right side, select Product for both the Data Container and the Data
Model. -
In the Master Data Browser
page, launch the search in the Product entity to list all the
available product records. -
Select the product record you need to update from the list, for
example, Talend Trucker Hat.The details of this record are displayed in the Product
tab view. -
Update one of its attributes.
In this example, update the price to 11.00 and then
click Save.The message about the operation type of this event has been sent to the MDM
server and this message is displayed on the window of this MDM server.